|
这是很多年以前我在公司上班的时候,一个外国客户的需求,他们需要将一个狼头设计在一个杯子上,于是才会有了下面的Photoshop抠图。 首先我们来看看素材。这样一张毛皮动物素材会让人很伤脑筋,而且背景跟主体部分非常接近,不管是从色相、明度、饱和度上看都很难区分。 
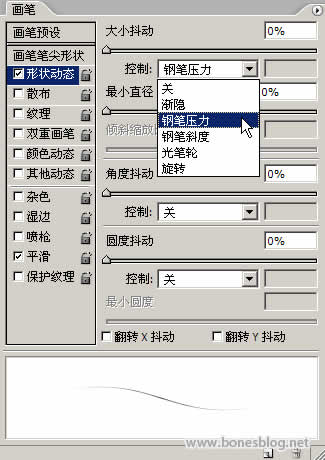
对于有一定难度的问题,我一般都会做个小实验。大家跟我看一下这样的实验后,就会明白为什么要用这种方法做这个抠图了。 首先将画笔调整以下状态 ,这里说一下,钢笔压力这个选项只有装了手写板才会有的选项,我这里用的手写板是Wacom 影拓 II 。 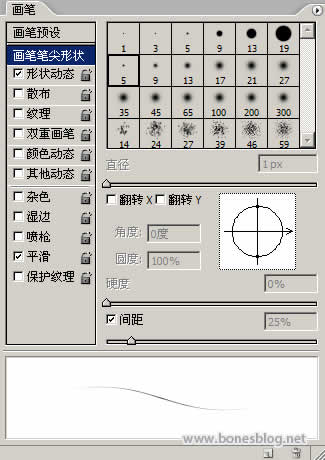
按下Q键,进入快速蒙版编辑状态,双击以快速蒙版模式编辑按钮,在弹出的对话框中做如下设置。 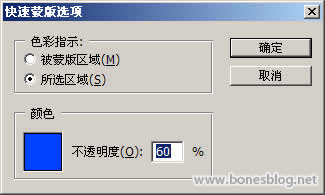
使用画笔工具,用前景色为黑色,在边缘上画上几笔,尽量按毛的走势来画 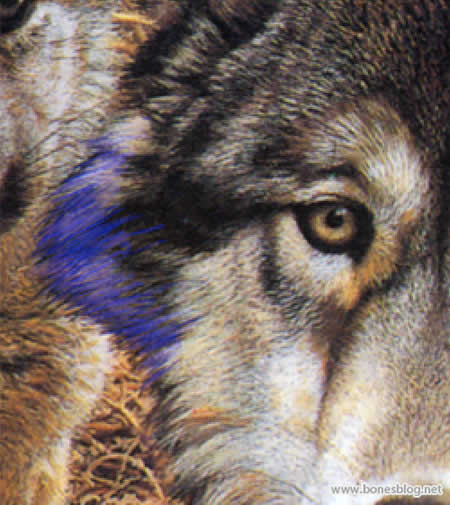
进入通道调板,关闭RGB的通道显示 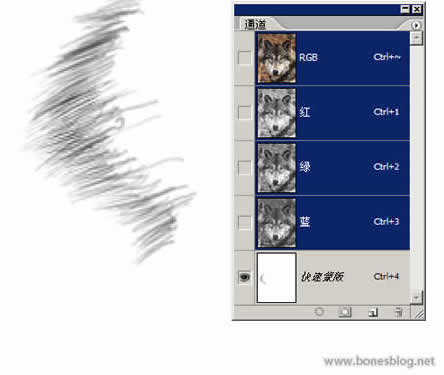
这个步骤是为了能使绘制毛发看得更加清楚,继续绘制 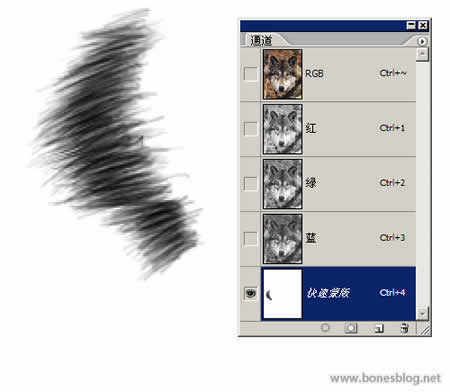
使用涂抹工具,设置如下所示 
用涂抹工具对毛发进行修饰 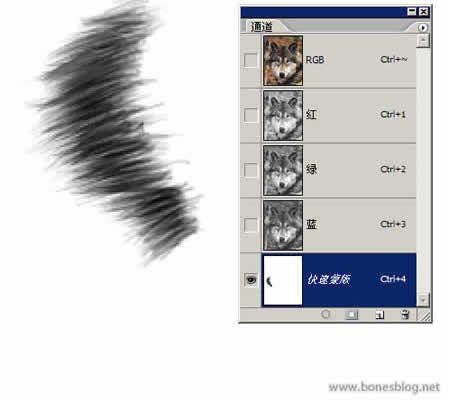
用画笔将内部的颜色填为黑色,注意用画笔的时候一定要将画笔的硬度调整为0,这样才会有比较柔和的过渡。 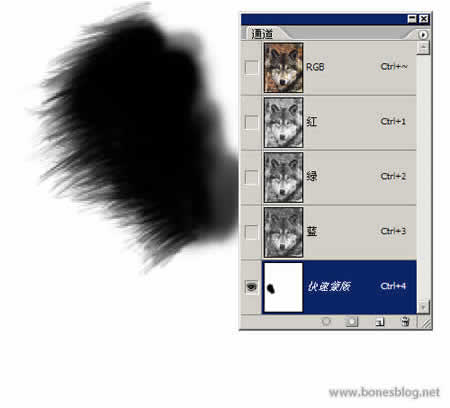
将RGB通道回复显示,回到图层调板上 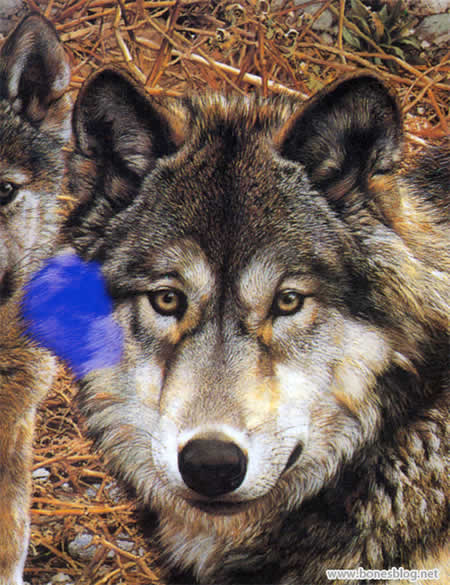
按下Q键,退出快速蒙版,得到这样的选区 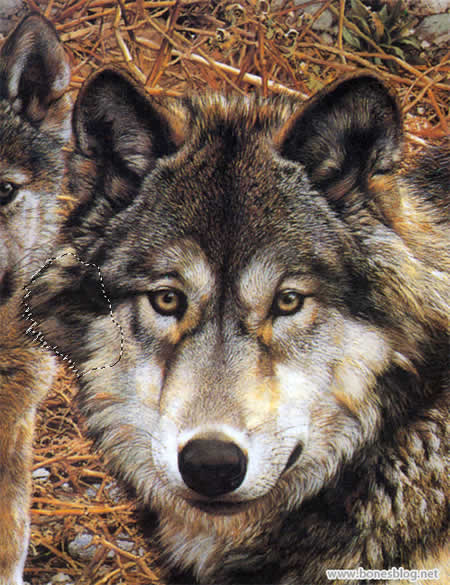
这就是选区部分抠出来的图 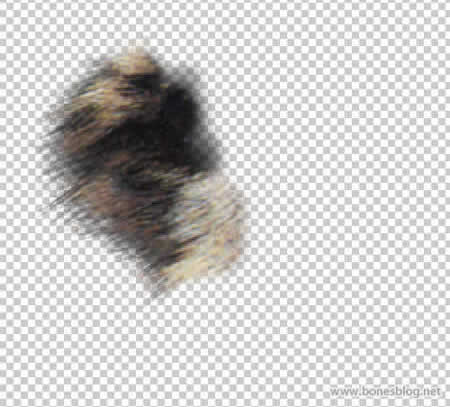
明白了这个道理,花点时间就可以把这张图抠出来了 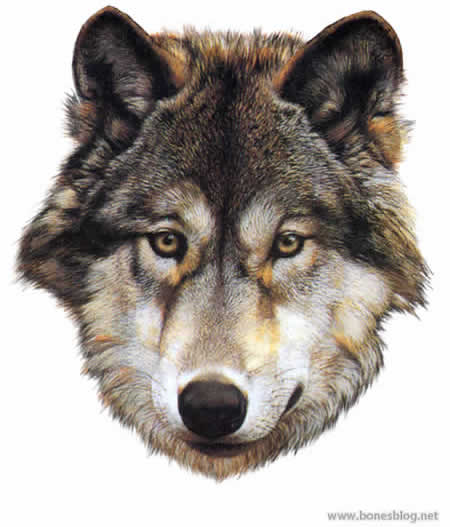
说在后面的话:
我写这个教程的目的不是要大家来试抠这样的一张图,也许工作中如果遇到相似问题时,可以想想我写的这个教程,就足够了。 遇到困难问题的时候,不要困难复杂化了,困难这东西是你觉得他难,他就是很难的。想法简单点,或许最简单的方法就是最好的方法。这就是我说的――无招胜有招。 | 