| Photoshop打造变形金刚__教程 |
|
| 日期:2007-1-2 10:37:48 人气:134 [大 中 小] |
|
|
|
|
|
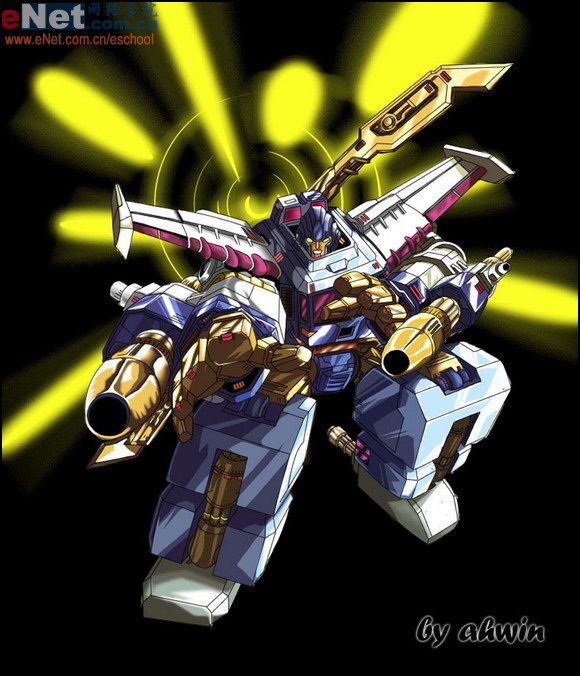
| 先看一下效果:
|
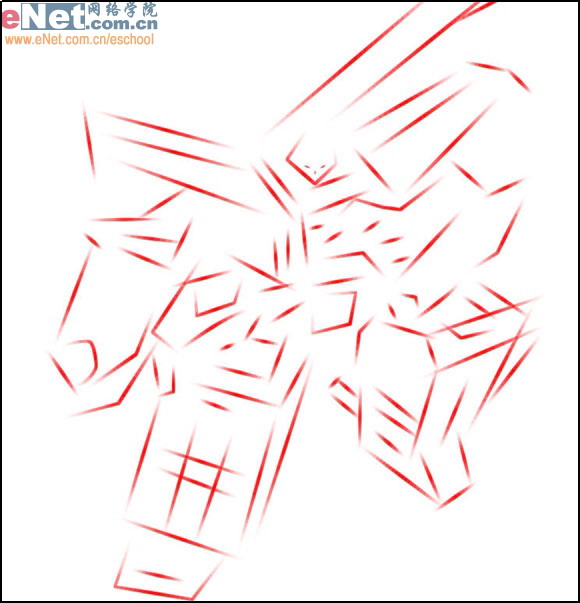
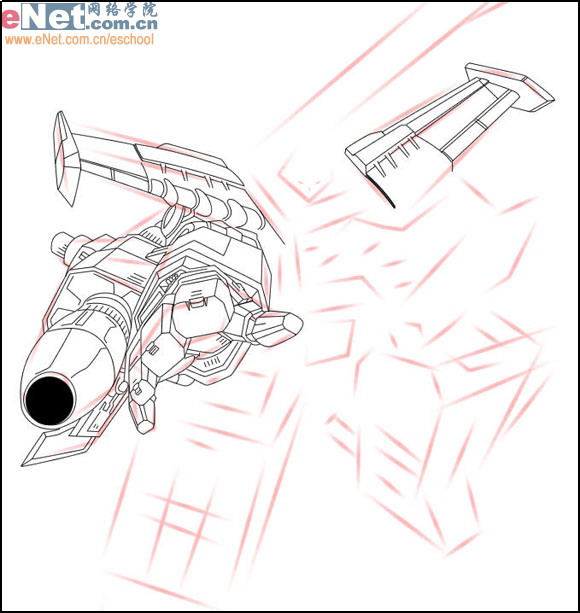
| 1)首先还是老规矩,使用画笔工具选取红色打出机器人的外形轮廓,这一点需要注意的是形体比例要尽可能把握的准,这样后边可以避免很多不必要的麻烦。
|
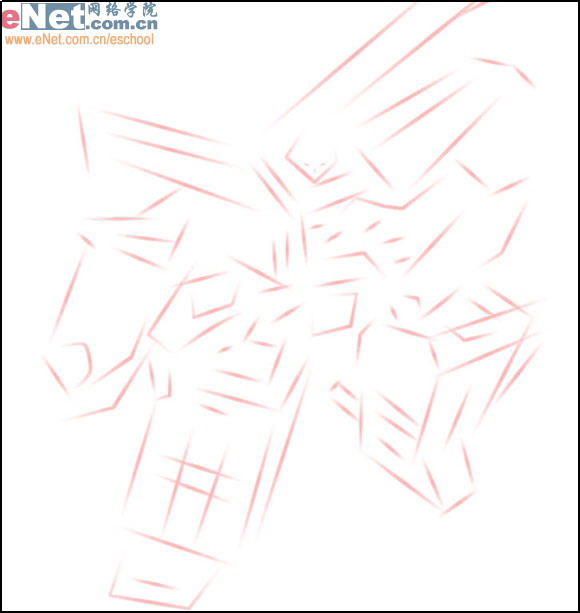
| | 2)在图层面板进行操作将我们刚刚绘制的草图图层进行透明度降低的操作。
|
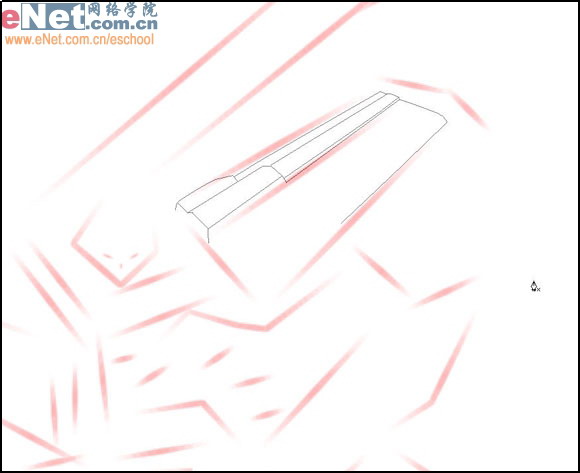
| 3)在工具栏种选择钢笔工具,使用钢笔工具沿着我们绘制的草图勾出机器人的外形
|
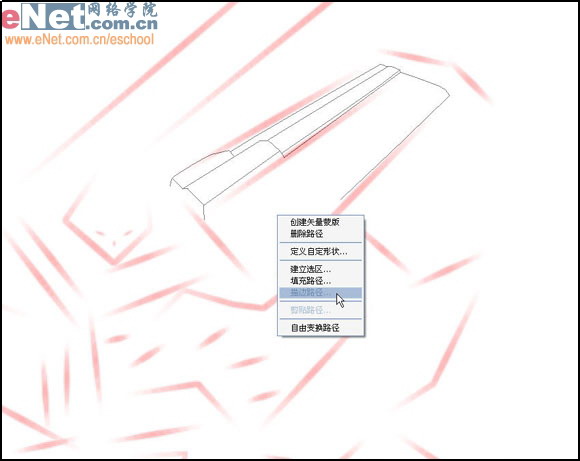
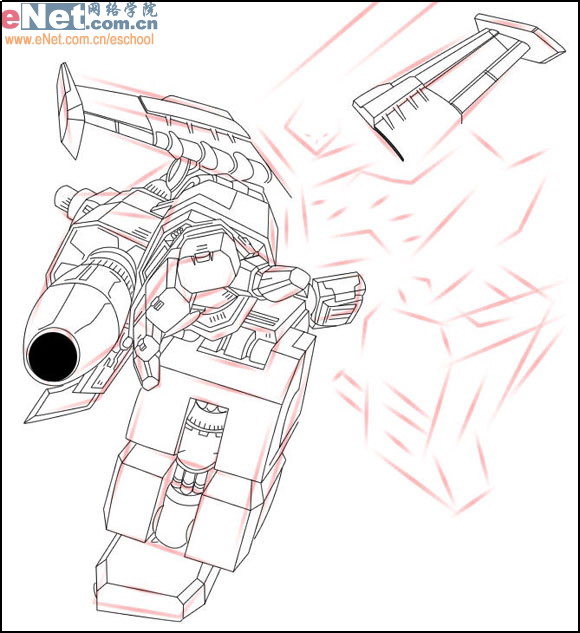
| 4)新建图层,勾好路径后单击鼠标右键并选择描边路经。
|
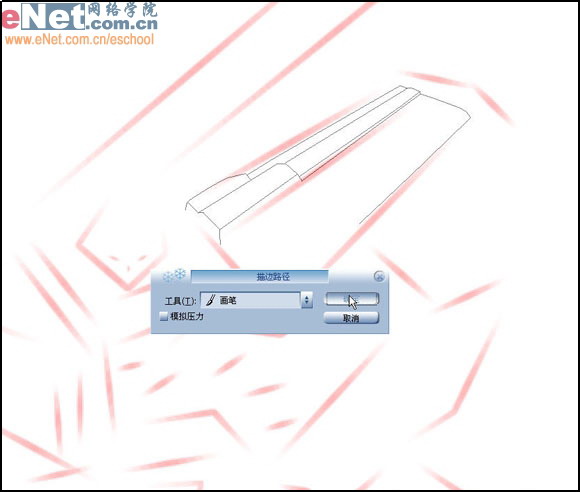
[page_break] | 5)在弹出的对话框中“工具”项选择画笔工具(选择这一项首先要将画笔工具的属性设置到我们需要的数值,这里我选择的是1像素),单击OK按钮。
|
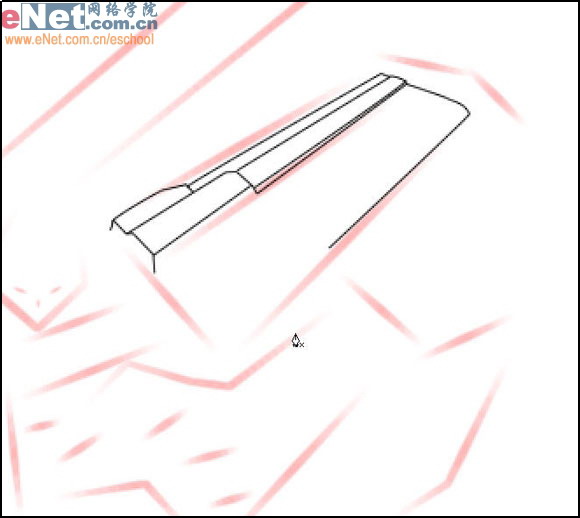
| 6)从图中我们可以看到通过这样的步骤画出了真正的线条。
|
| 6)从图中我们可以看到通过这样的步骤画出了真正的线条。
|
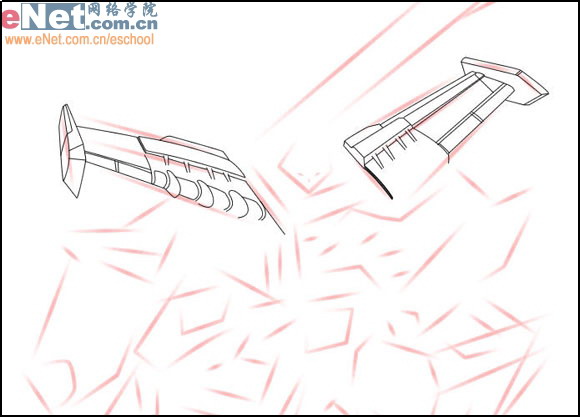
| 7)通过同样的方法使用钢笔工具描边路径画出机器人的两只翅膀。
|
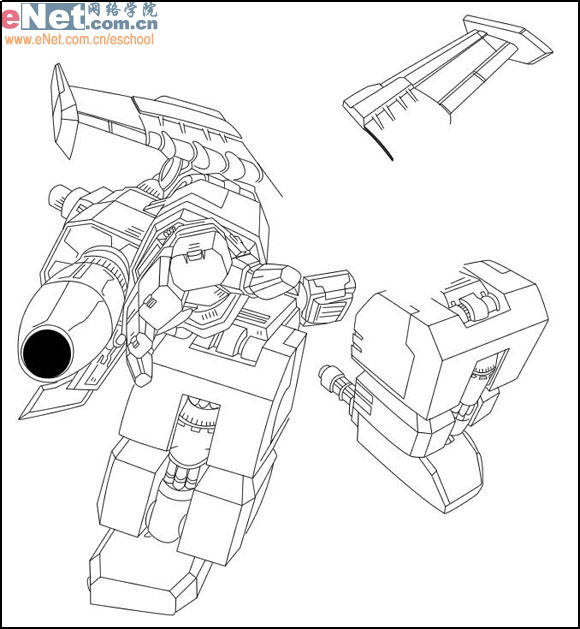
| 8)画出机器人的一只手臂,在绘制的过程中一定要保证细致,经常缩放图像是很好的习惯。(如图08所示)
|
| 9)画出机器人的一条腿,可以经常新建图层,将新绘制的线条保存在上面,这样可以便于修改,直到自己很满意了可以将所有线稿层合并
|
| 10)画出另一条腿,绘制过程最好是有一定的顺序,比如从上到下从左到右,不要东一榔头西一棒子
|
|
|
| 出处:本站原创 作者:佚名 |
|
|
