|
很多人都知道,变色龙随着环境变化而将身体变色。如果MM们穿的衣服也能像变色龙那样经常变换颜色,有些新鲜感,那该多好啊!虽然现实中很难做到,但我们用Photoshop CS给照片上MM的衣服换一种颜色,也不错哦! 1、首先我们打开一张数码相片,如图01所示。 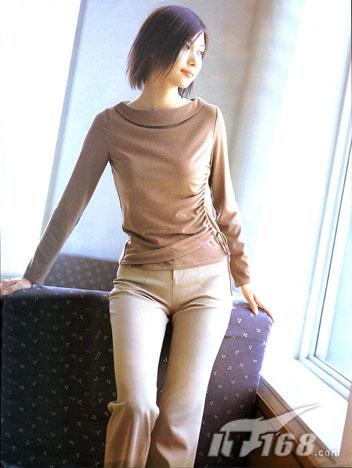 图01 2、选择工具箱中的“磁性套索工具”,沿着上衣的轮廓进行勾勒,磁性套索工具会紧贴着相同颜色区域,所以可以轻松选中上衣,如图02所示。 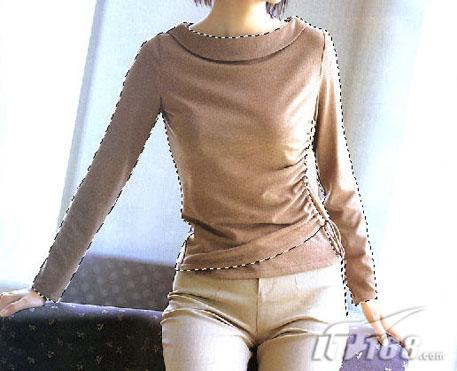 图02 3、在素材库中选择一张自己喜欢的图片,选择工具箱中的“矩形选框”工具,将鼠标挪到照片中建立的选区上,此时鼠标指针变为可移动选区的图标,单击鼠标左键不放,同时拖动鼠标,将选区拖拽到图片上,选择一块合适的花纹作为上衣的图案,如图03所示。 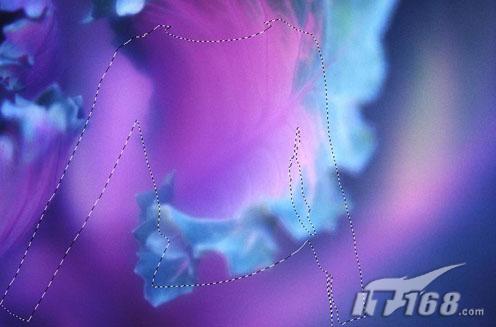 图03 [page_break] 4、选择工具箱中的移动工具,将选种的画布移到照片中人物的身上,如图04所示。 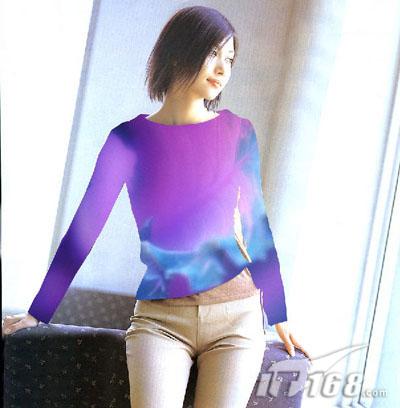 图04 5、拖拽过来的上衣是平的,没有衣褶变化。所以选择“图层”面板中的“图层混合模式”在下拉菜单中选择“叠加”选项,效果如图05所示。 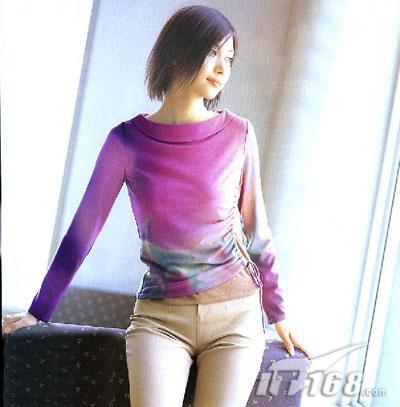 图05 6、选择工具箱中的“磁性套索工具”,沿着上衣里面一层的轮廓进行勾勒,形成选区,如图06所示。 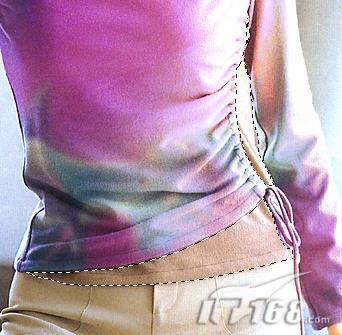 图06 7、将图片垂直反转,将选区拖拽到图片上,选择另一块合适的花纹作为上衣里面一层的图案,如图07所示。 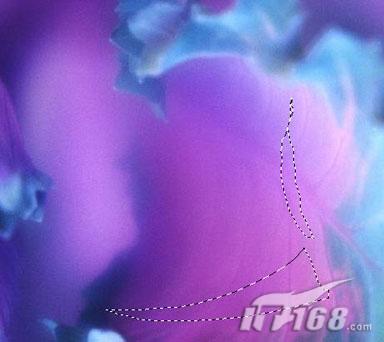 图07 [page_break] 8、选择工具箱中的移动工具,将选种的画布移到照片中人物的身上,如图08所示。选择“图层”面板中的“图层混合模式”在下拉菜单中选择“叠加”选项,效果如图09所示。 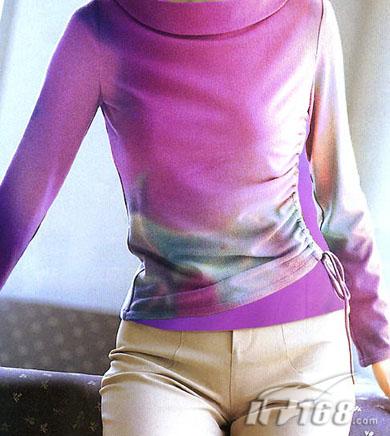 图08 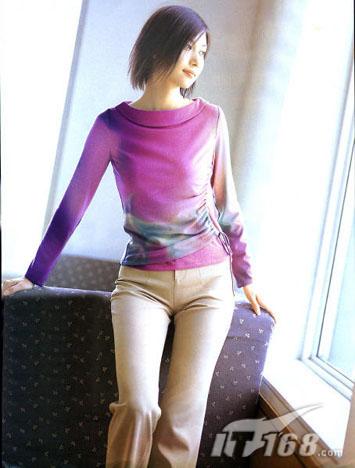 图09 9、选择“图像”“调整”“色相/饱和度”命令,得到“色相/饱和度”对话框,设置色相为-23,饱和度为16,明度为-13,随你的喜欢调整化裙子的色调,效果如图10、11所示。 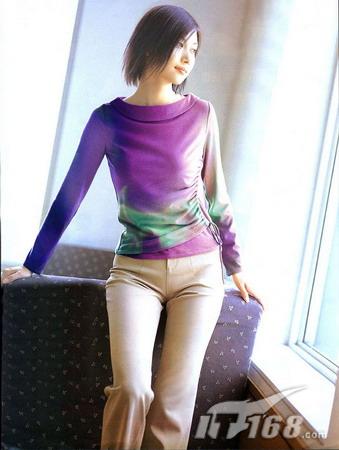 图10 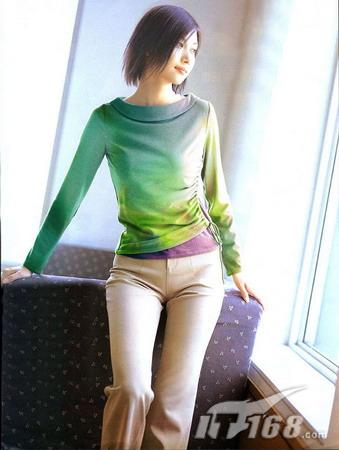 图11 | 